By Grocery List Plus Editorial Staff | Published on June 4, 2026
Serves 24
60 cal · 1260 min
No Knead Bread
Recipe GLPRebc4381ad86df4
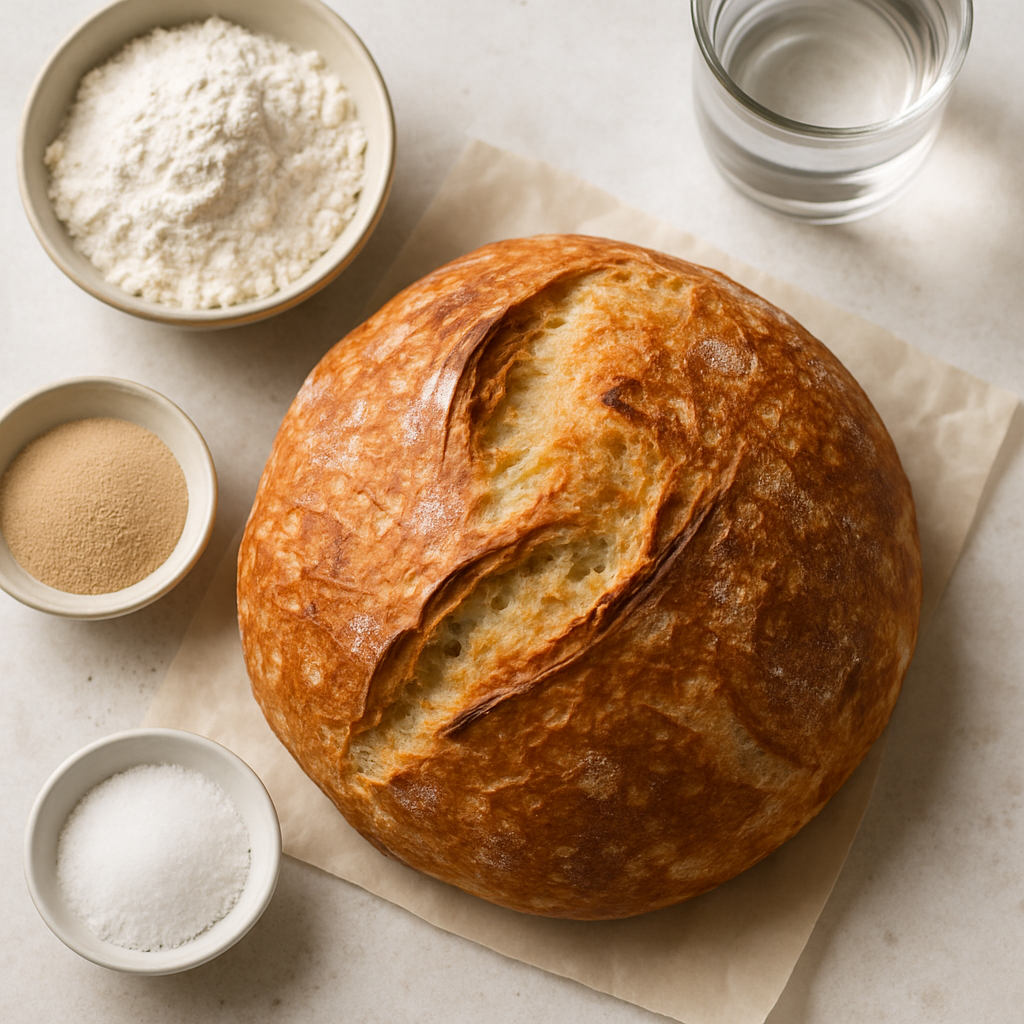
A rustic artisan loaf with a crackling golden crust and tender crumb, made with minimal yeast and a long, slow fermentation. This hands-off method produces restaurant-quality bread in your home kitchen using just four simple ingredients and a covered Dutch oven.
Save recipes you love
Create a free Grocery List Plus account to save recipes, rate them, and add every ingredient to your grocery list in one tap.
Ingredients
3 cups bread flour
1/4 teaspoon instant yeast
1 teaspoon fine table salt
1 1/2 cups warm water
Directions
The night before baking, combine the bread flour, instant yeast, and salt in a large bowl. Pour in the warm water and stir vigorously with a wooden spoon until all the flour is hydrated and the mixture forms a shaggy, wet dough. Do not knead. Cover the bowl tightly with plastic wrap and leave at room temperature for 12 to 20 hours, allowing the dough to ferment, develop flavor, and become bubbly and relaxed.
About 2.5 hours before you want to bake, prepare a work surface by sprinkling it lightly with flour. Wet a silicone spatula or your hands with water. Gently turn the dough out onto the floured surface, being careful to maintain its structure. Using the wet spatula, fold the edges of the dough toward the center a few times, then gently nudge it into a ball shape, being careful not to deflate it. Keep your hands or spatula wet throughout to prevent sticking.
Place a large sheet of parchment paper on the work surface. Transfer the shaped dough ball onto the parchment paper. Carefully lift the parchment paper with the dough and place it into a large mixing bowl. Drape a clean kitchen towel over the bowl to cover the dough during its final rise.
Let the dough rest and rise for 2 hours. About 30 minutes before the 2-hour mark is complete, place your covered Dutch oven (or other 5-quart or larger oven-safe covered vessel made of cast iron, ceramic, Pyrex, or enamel) into the oven and preheat to 450°F. The vessel and lid must be oven-safe.
After the 2-hour rise, the dough should have nearly doubled in volume and should feel puffy and light with visible bubbles on the surface.
Carefully remove the preheated covered pot from the oven using oven mitts. Grab both ends of the parchment paper and carefully lift the entire dough ball into the hot pot. The dough will land awkwardly and that is fine. Gently shake the pot to settle and even out the dough, then cover the pot immediately with its lid.
Bake covered for 30 minutes. This traps steam and helps develop the crust. After 30 minutes, carefully remove the lid using oven mitts and bake uncovered for an additional 15 to 20 minutes, until the crust is deep golden brown. Check that the internal temperature of the bread reaches 210°F at the center of the loaf using an instant-read thermometer.
Remove the pot from the oven and carefully transfer the bread to a wire cooling rack. Allow it to cool completely before slicing. If you prefer a crisper crust and are not serving immediately, place the cooled bread in a 350°F oven for 10 minutes to re-crisp before serving.
Comments
Ingredients are universally available at any Charlotte grocery chain for a handful of dollars total, yielding bread at roughly 20 cents per serving—a steal compared to bakery loaves. The stated time is brutally honest: 21 hours of mostly waiting between mixing and baking, with only 10 minutes of actual hands-on work, so a Charlotte weeknight baker needs to plan ahead but won't camp in the kitchen. The loaf reheats perfectly and actually improves slightly the next day when wrapped and warmed, making it ideal for a family that eats bread across multiple meals. The only friction is that the wait time demands deliberate scheduling rather than impulse—it's not a same-night craving food.
Sign in or create a free account to add your review.