By Grocery List Plus Editorial Staff | Published on June 11, 2026
Serves 30
110 cal · 45 min
Easy Canning: Corn Cob Jelly
Recipe GLPR07a42f0407e6bd
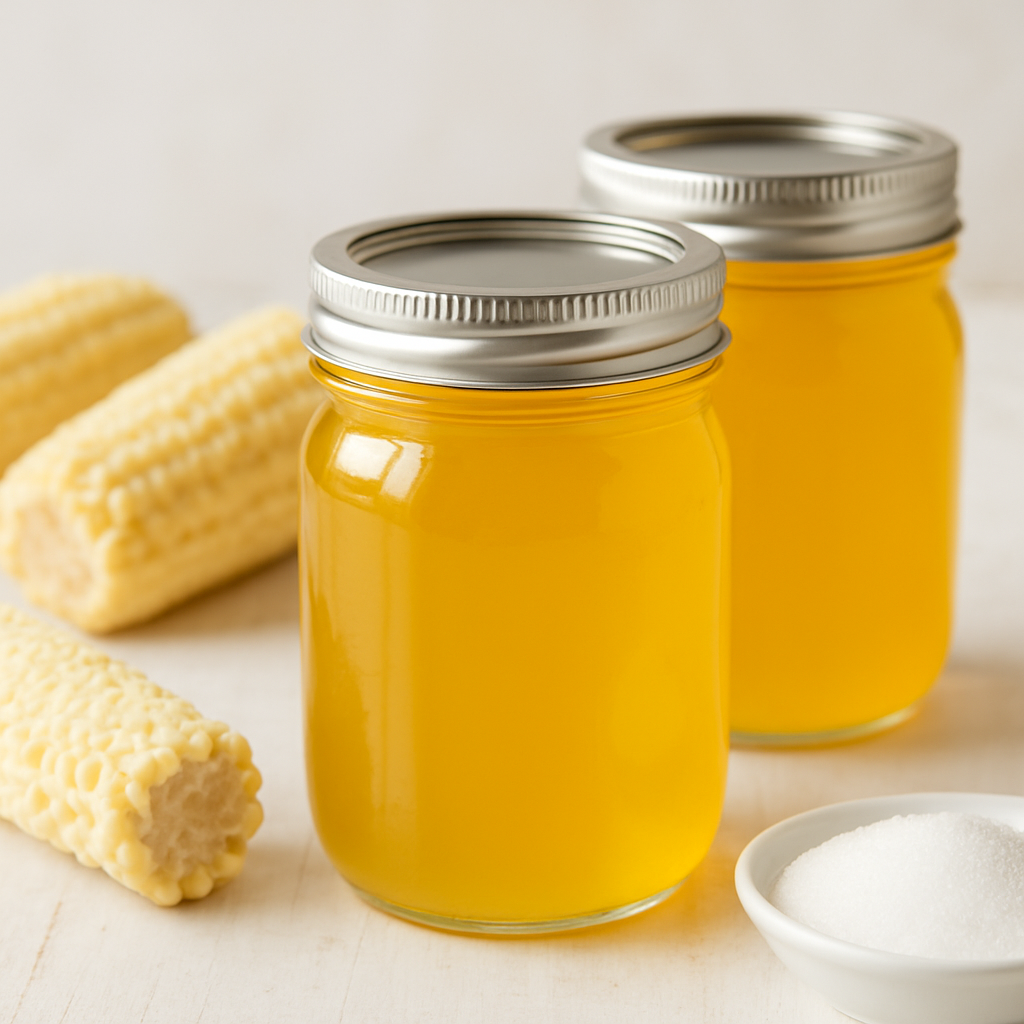
A delightful homemade jelly made from corn cobs, creating a unique, subtle corn-flavored spread with a beautiful golden color. This traditional canning recipe uses pectin to achieve a perfect gel consistency. Perfect as a spread, condiment, or elegant gift from the kitchen.
Save recipes you love
Create a free Grocery List Plus account to save recipes, rate them, and add every ingredient to your grocery list in one tap.
Ingredients
12 corn cobs (kernels removed)
6 cups Water for boiling cobs
3½ cups Reserved corn cob broth
1 package (1¾ ounces) Powdered fruit pectin
3½ cups Granulated sugar
drops (2-3) Yellow food coloring (optional)
Directions
Place the 12 corn cobs into a large pot and cover with 6-8 cups of water. Bring the water to a rolling boil over high heat.
Once boiling, reduce heat slightly and maintain a steady boil uncovered for approximately 10 minutes, allowing the corn cobs to release their flavor and essence into the water.
Remove the pot from heat and carefully discard the corn cobs. Pour the liquid through a fine-mesh strainer into a clean bowl to remove any debris or small particles.
Measure out 3½ cups of the strained corn cob broth and discard any remaining liquid. Return the 3½ cups of broth to the large pot.
Add the powdered fruit pectin to the corn cob broth, stirring constantly to dissolve. Bring the mixture to a strong, rolling boil over high heat.
Add all 3½ cups of granulated sugar to the boiling liquid, stirring well to combine. Return the mixture to a full rolling boil.
Using a skimmer or clean spoon, remove any foam that rises to the surface. Add 2-3 drops of yellow food coloring if desired to enhance the golden hue of the jelly.
Carefully ladle the hot jelly mixture into sterilized jelly jars, leaving approximately ½ to 1 inch of headspace at the top of each jar.
Wipe the rims of the jars with a clean, damp cloth. Place the flat lids and screw bands on each jar, tightening the bands just until snug (not overly tight).
Process the sealed jars in a water bath canner for 10-15 minutes, following standard home canning procedures. Remove from the water bath and allow to cool completely on a clean towel.
As the jars cool, listen for the distinctive 'pop' sound that indicates a proper seal. Once cooled, check that the center of each lid is concave (slightly depressed). Any jars that do not seal should be refrigerated and consumed within 2 weeks. Properly sealed jars have a shelf life of 1-2 years when stored in a cool, dark place.
Comments
Corn cob jelly is a regional specialty with genuine charm, but it requires sourcing whole corn cobs—a non-standard ingredient you won't find packaged at Harris Teeter, Food Lion, or Walmart, meaning a call to a local farm stand or farmer's market on the weekend. The stated 45 minutes ignores the hour or more needed to simmer cobs into broth, strain, then cook the jelly to set; budget at least two hours start to finish. The cost per serving is modest (sugar, pectin, a few cents per jar), but this is a canning project, not a weeknight spread, and the result is best kept for winter holidays or gifts rather than eaten fresh. If you have access to fresh corn from a local grower or farm stand and enjoy preserves, it's worth the extra effort; if you're expecting a quick condiment, reset expectations.
Sign in or create a free account to add your review.