By Grocery List Plus Editorial Staff | Published on June 14, 2026
Serves 10
436 cal · 300 min
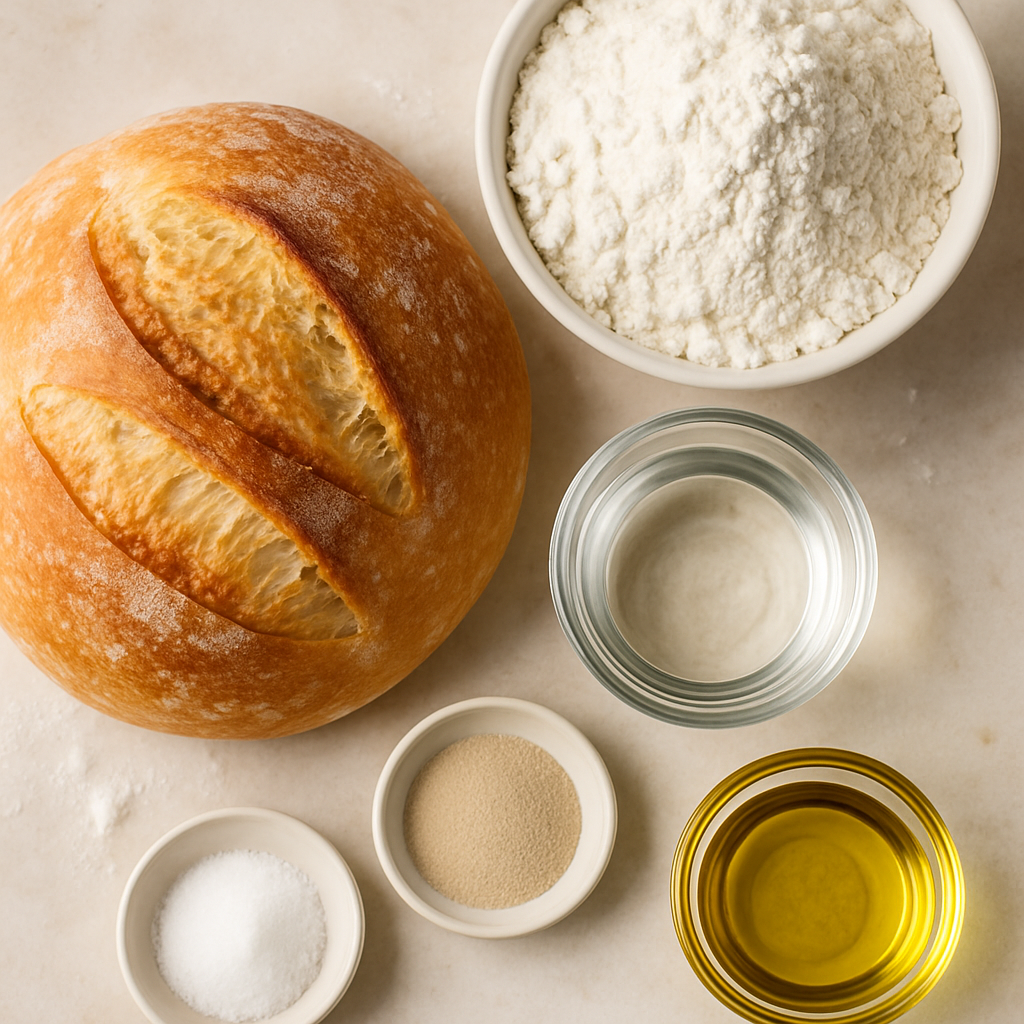
Simple Crusty White Bread
Recipe GLPR74ae9837feb396
A straightforward artisan-style white bread with a crispy, golden crust and tender crumb. This recipe uses a simple dough of flour, water, salt, and yeast, requiring only basic equipment and patience for a rustic loaf perfect for everyday eating.
Save recipes you love
Create a free Grocery List Plus account to save recipes, rate them, and add every ingredient to your grocery list in one tap.
Ingredients
1000 g all-purpose flour
700 g room-temperature water
22 g salt
4 g instant yeast
1 teaspoon neutral oil for greasing (vegetable or canola)
all-purpose flour for dusting
Directions
In a large mixing bowl, combine 1000g all-purpose flour and 22g salt. Whisk together to distribute the salt evenly throughout the flour.
Add 4g instant yeast to the flour mixture and whisk to combine evenly. If using active dry yeast or fresh yeast instead, see the variations in step 3.
Pour 700g room-temperature water into the flour mixture. Stir with a wooden spoon or your hands until all flour is hydrated and a shaggy dough forms. Do not overwork the dough at this stage.
Cover the bowl with plastic wrap or a damp kitchen towel and let the dough rest at room temperature for 12 to 18 hours. This long fermentation develops flavor and structure without extensive kneading.
After the fermentation period, dust your work surface generously with all-purpose flour. Turn the dough out onto the floured surface and gently fold it over itself a few times to build tension, being careful not to deflate it.
Shape the dough into a round or oval loaf by gently pulling the edges toward the center and rolling it seam-side down on the work surface. Use flour as needed to prevent sticking.
Lightly coat a bowl with 1 teaspoon neutral oil and place the shaped dough seam-side up in the bowl, or place it seam-side up on a flour-dusted banneton or kitchen towel. Cover loosely with plastic wrap.
Let the dough perform a final proof at room temperature for 2 to 4 hours, or until it shows signs of expansion and springs back slowly when poked gently.
Preheat your oven to 450°F (232°C). If using a Dutch oven, place it inside the oven during preheating so it is very hot.
Turn the proofed dough out onto a parchment paper-lined baking sheet or Dutch oven, seam-side down. Score the top with a sharp knife to guide expansion and create an attractive crust pattern.
Bake at 450°F (232°C) for approximately 30 minutes, until the crust is deep golden brown and crispy. If using a covered Dutch oven, bake covered for the first 20 minutes, then uncover for the final 10 minutes.
Remove the loaf from the oven and place it on a wire rack to cool completely before slicing. The crust will continue to crisp as it cools.
Comments
This is an honest, budget-friendly bread that costs under fifty cents per loaf at any Charlotte grocer—flour, water, salt, and yeast are staples everywhere. The stated 300 minutes is actually truthful for overnight cold fermentation, though the hands-on time is only ten to fifteen minutes spread across the day, making it genuinely fuss-free for a weeknight baker. The finished loaf reheats beautifully and stores for days, and there are no specialty ingredients forcing a second trip. The only reason this isn't a 5.0 is that artisan bread requires some starter confidence and a Dutch oven; a nervous cook might find the proofing harder to read than the recipe implies.
Sign in or create a free account to add your review.