By Grocery List Plus Editorial Staff | Published on June 14, 2026
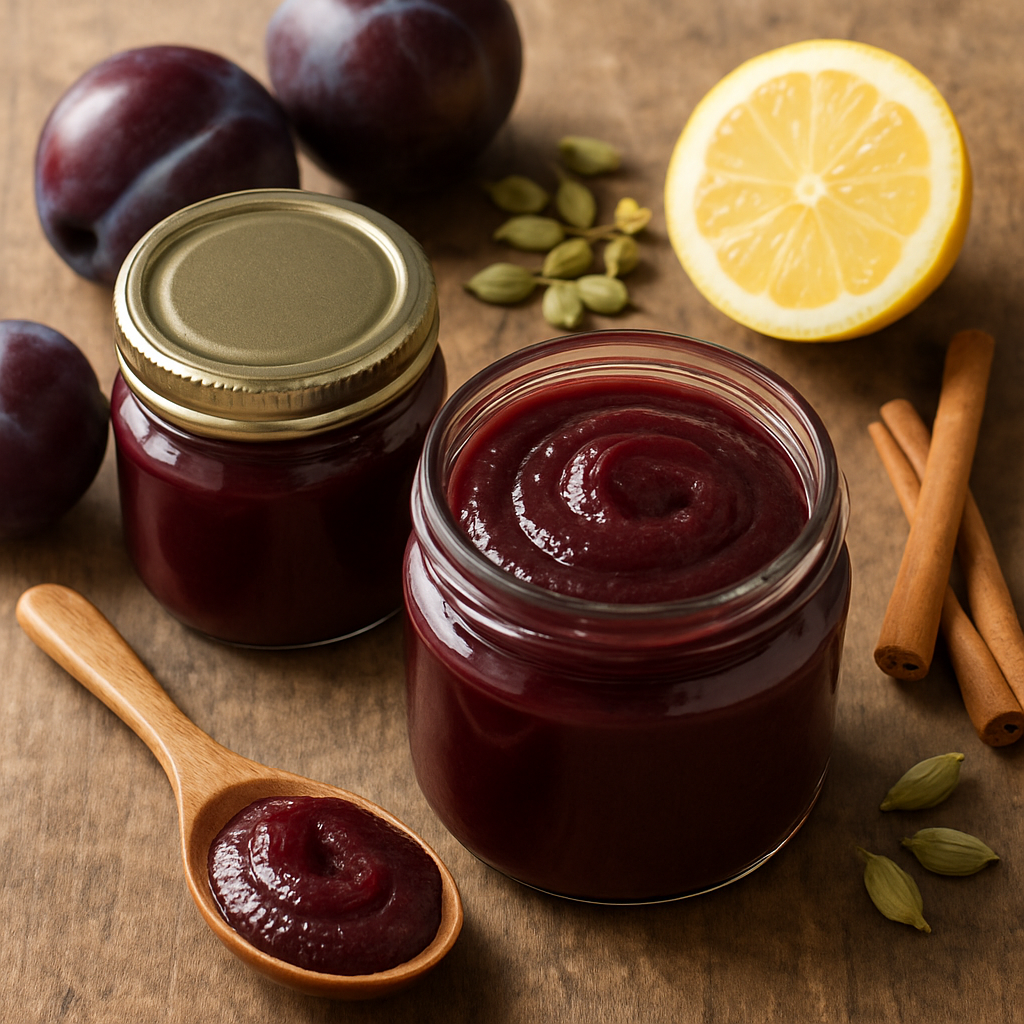
Serves 80
30 cal · 45 min
Plum Butter
Recipe GLPR7a527245fcd788
A silky, spiced preserve made from fresh plums blended with warm cardamom and cinnamon, then cooked until thick and spreadable. This traditional preserve is ideal for toast, pastries, or as a condiment alongside cheese boards.
Save recipes you love
Create a free Grocery List Plus account to save recipes, rate them, and add every ingredient to your grocery list in one tap.
Ingredients
2 lbs fresh plums, halved and pitted
1/4 cup water
2 Tbsp lemon juice
1 tsp ground cardamom
1 tsp ground cinnamon
2 1/2 cups granulated sugar
Directions
Pulse the halved and pitted plums in a food processor until roughly broken down. Transfer to a large saucepan and add the water, lemon juice, cardamom, and cinnamon. Stir well to combine.
Working in batches to avoid overflow, press the plum mixture through a food mill into a clean bowl to create a smooth purée, discarding any skins or fibrous material that does not pass through. Measure out 3 to 4 cups of purée.
Return the measured purée to the saucepan and stir in the granulated sugar until fully dissolved. Place the pan over medium-high heat and bring the mixture to a boil, stirring frequently to prevent scorching on the bottom.
Reduce the heat to medium-low and maintain a gentle, rolling boil. Continue cooking, stirring occasionally, until the mixture thickens and holds its shape on a spoon when a small amount is dropped onto a cold plate and cooled briefly, typically 20 to 30 minutes. The butter should be deep purple and glossy.
While the plum butter cooks, prepare your canning supplies. Sterilize canning jars by running them through very hot water (nearly boiling) for several minutes, or by running them in a sterilizing cycle. Boil a small saucepan of water and keep the lids ready to use.
Using a ladle, carefully fill each hot sterilized jar with the hot plum butter, leaving 1/4 inch headspace at the top. Wipe the rim of each jar clean with a damp cloth to remove any butter or drips that could interfere with the seal.
Center a lid on each jar and screw the band down by hand until you feel resistance—do not overtighten, as the lid needs room to flex during processing.
Place the filled jars in a boiling water canner, ensuring they are completely covered by at least 1 inch of water. Bring the water to a rolling boil and process the jars for 10 minutes.
Remove the canner lid and let the jars sit undisturbed in the hot water for 5 additional minutes. Carefully remove the jars using a jar lifter and place them upright on a clean kitchen towel to cool. As they cool, you will hear the characteristic 'pop' of the lids sealing. Once cooled to room temperature, check that the lids are properly sealed by pressing the center—it should be firm and not flex.
Comments
This is a preserve, not a weeknight spread: the stated 45 minutes ignores the slow simmer that actually takes 60–90 minutes to reach butter consistency and proper set. Plums arrive late summer through early fall in North Carolina, so timing matters; buy them when they're cheap and abundant at Harris Teeter or Food Lion, or skip it off-season. At $0.30–0.50 per serving total (plums bulk the cost, sugar and spices are pennies), it's economical and keeps for months, making it a good make-ahead project rather than same-night cooking. Cardamom and cinnamon are standard pantry staples, so no special shopping trip is needed.
Sign in or create a free account to add your review.